Glasses worn in photo
Remove all eyeglasses. VFS Global and Indian Consulates strictly reject photos showing frame obstruction or lens reflection.
Vollständige Anleitung für die Erneuerung des indischen Passportes in den USA: 2x2 Zoll Foto-Specs und VFS Global Upload-Regeln.
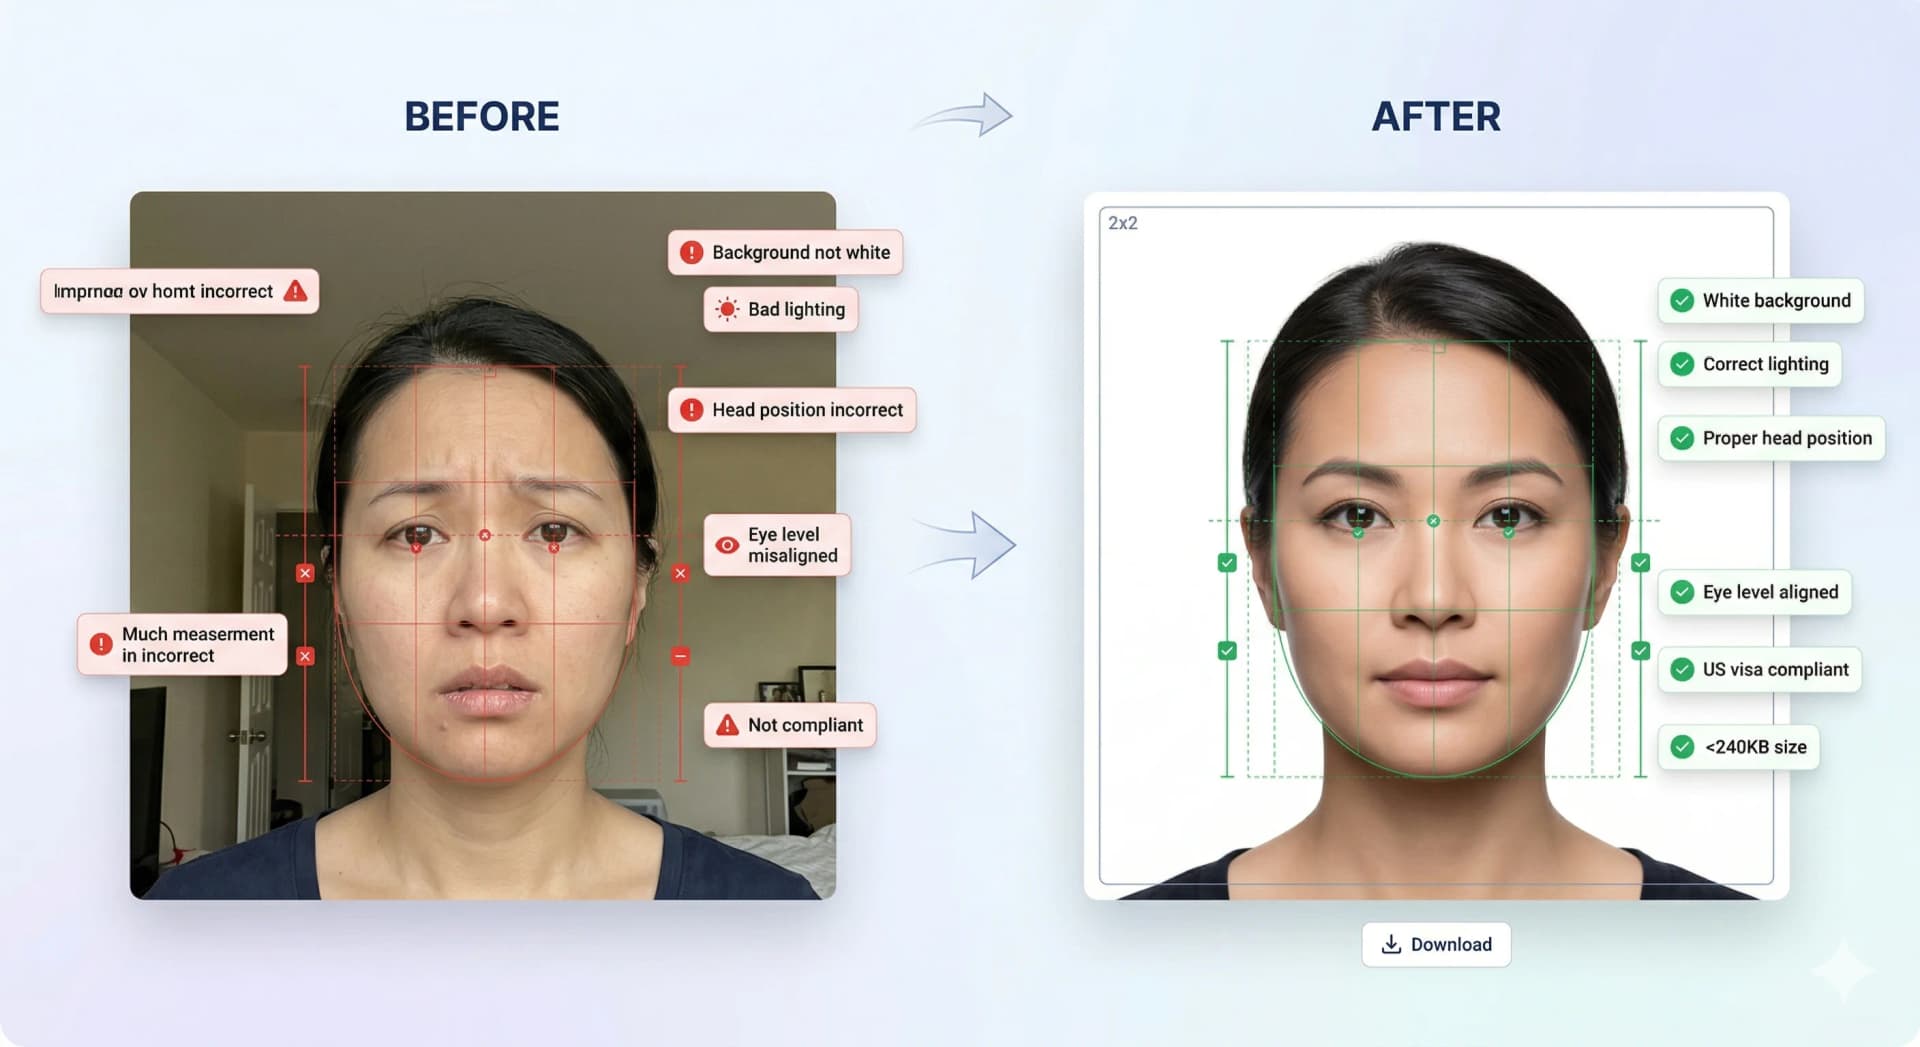
Use a recent color photo taken within the last 6 months.
Keep a neutral facial expression with eyes open and mouth closed.
Do not wear spectacles, dark glasses, or tinted lenses.
Both ears should be visible with hair tucked behind.
Separate photo and specimen signature uploads according to VFS portal file limits.
Remove all eyeglasses. VFS Global and Indian Consulates strictly reject photos showing frame obstruction or lens reflection.
Use a pure white background. Off-white, grey, or textured backgrounds cause automated portal rejections.
The File Number is printed on the last page of your Indian passport (e.g. USA1000000000) and is required on VFS forms.
For Indian passports renewed in the US, select Indian Embassy / CGI (New York, San Francisco, Chicago, Houston, Atlanta, or Washington DC) as the issuing authority.
Complete your application on the Passport Seva NRI portal and note down your Application Reference Number (ARN) and File Number.
Capture your photo against a white wall, remove glasses, and crop to 2x2 inches (51x51 mm) or 600x600 px for digital upload.
Upload the 2x2 JPEG file and specimen signature to the VFS portal, then print physical copies if submitting a postal application.
Offizielle Regeln lehnen bearbeitete oder gefilterte Fotos ab. Nutzen Sie das Studio nur für Konformitätsprüfungen, Zuschnitt und Hintergrund.
Automatischer Zuschnitt, Hintergrundkorrektur und 22+ biometrische Prüfungen.
Detaillierte Anleitungen zu Fotogrößen und Upload für internationale Visa- und Passportale.
Step-by-step walkthrough for uploading your digital photo to the US CEAC DS-160 portal. Prepare your square JPEG, resolve upload prompts, and ensure compliance with US State Department guidelines.
Create a Diversity Visa lottery photo with the correct 600 x 600 px square format, JPEG compression, face placement, and background rules.
Schengen visa photo rules: common 35x45mm biometric format, ICAO standards, print quality & consulate-specific variations.
Canada visa & passport photo rules: printed dimensions, digital upload ranges, file size limits & photo specs.
India e-Visa & passport photo rules: 2x2 in JPEG uploads, file size limits, background rules & OCI specs.
Prepare a UK digital passport photo with plain background, balanced light, neutral expression, no filters, and practical checks before online submission.
Official 2026 guidelines for OCI application photos and signature uploads. Covers 2x2 inch physical photos, 1:1 ratio 20-500 KB digital uploads, and 3:1 signature files.